プレゼンテーションは聴衆に情報を伝える最適な方法です。短く簡潔に、コンパクトで噛み砕いた言い方をすることで、聴衆を引き込み、理解させることができます。表、グラフ、図形、イラスト、画像、動画、効果音、地図、リストなど、プレゼンテーションに多くの要素を組み込むことで、自由な表現ができます。
Web上にはかっこいいプレゼンテーションを作るためのツールがそろっています。今回は、すぐに使えるコンパクトなコンポーネントライブラリが備わったWebSlidesを紹介します。
WebSlidesは、物語を伝え、美しく共有できます。
実際、WebSlidesのメリットは、あなたの話を美しく、魅力的に共有できることです。目的別に40種類以上用意されたコンポーネントも使うことがき、読みやすくて拡張性の高いコードで、ポートフォリオ、ランディングページ、長文記事、インタビューなども作れます。
さらに、Unsplash、Animate.css、Animate On Scrollといったサードパーティ製のサービスやツールを使うことでWebSlidesの機能を拡張できます。
WebSlidesはすぐに使えて、楽しいツールです。とにかくやってみましょう。
WebSlidesのインストール
WebSlidesをダウンロードします。ルートフォルダーの中に新しいフォルダ「presentation」を作ります。作成したpresentationフォルダーにindex.htmlを作って以下のコードを入力します。ダウンロードしたWebSlidesフォルダー内のファイルを参照するので、ファイルのパスを環境に合わせて変更してください。
<!doctype html>
<html>
  <head>

    <!-- Google Fonts -->
    <link href="https://fonts.googleapis.com/css?family=Roboto:100,100i,300,300i,400,400i,700,700i%7CMaitree:200,300,400,600,700&subset=latin-ext" rel="stylesheet"/>
    <!-- CSS Base -->
    <link rel="stylesheet" type='text/css' media='all' href="../static/css/base.css"/>
    <!-- CSS Colors -->
    <link rel="stylesheet" type='text/css' media='all' href="../static/css/colors.css"/>
    <!-- Optional - CSS SVG Icons (Font Awesome) -->
    <link rel="stylesheet" type='text/css' media='all' href="../static/css/svg-icons.css"/>

  <body>
    <!-- PUT WEBSLIDES PRESENTATION CONTENT HERE -->

    <script src="../static/js/webslides.js"></script>
    <script>
      window.ws = new WebSlides();
    </script>

    <!-- OPTIONAL - svg-icons.js (fontastic.me - Font Awesome as svg icons) -->
    <script defer src="../static/js/svg-icons.js"></script>
  </body>
準備ができました。
WebSlidesでWebプレゼンテーションを作る
「WebグラフィックでなぜSVGが必要とされているか」を説明する短いプレゼンテーションを作ります。
注:SVGに興味が湧いたら、基礎から学ぶ、IllustratorでSVGを最適化して書き出す方法やSVG入門:SVGとはなにかを参照してください。
1つずつ作業を進めます。1つ目のスライドです。
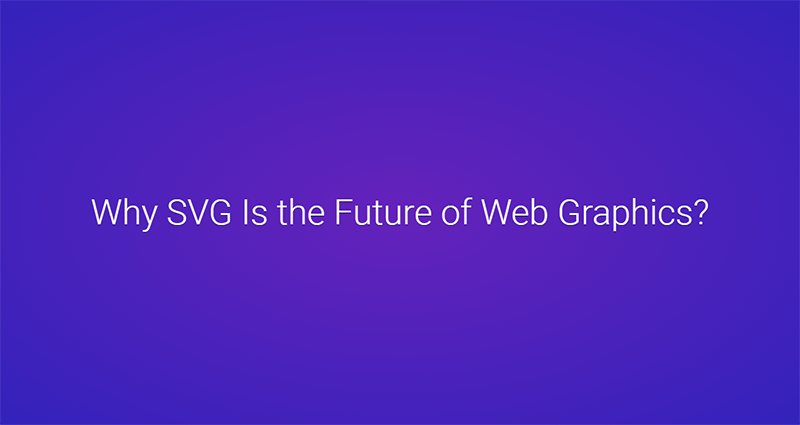
スライド1
最初のスライドは1つの文章だけ。とてもシンプルなものです。
<article id="webslides">
  <!-- First slide -->
  <section class="bg-gradient-r aligncenter">
    <h1>Why SVG Is the Future of Web Graphics?</h1>
  </section>
  <!-- Second slide -->
  <section>
    ...
  </section>
  <!-- Third slide -->
  <section>
    ...
  </section>
  <!-- etc. -->
</article>
<article id="webslides">にある親要素<section>がスライドを作ります。ここではWebSidesで使えるクラスが2つ使われています。bg-gradient-rとaligncenterは、背景に放射状のグラデーションを付ける効果と、要素を中央に寄せる効果があります。
スライド2
2枚目はSVGについて説明したスライドです。
<section>
<div class="wrap">
<div class="content-left">
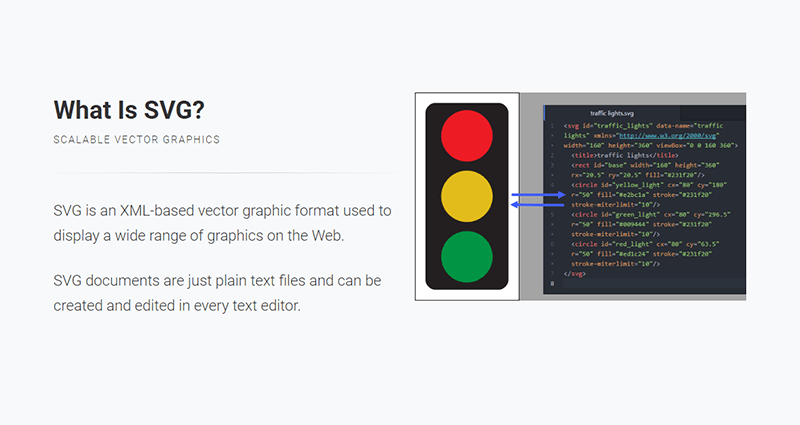
<h2>What Is SVG?</h2>
<p class="text-subtitle">Scalable Vector Graphics</p>
<hr>
<p class="text-intro">SVG is an XML-based vector graphic format used to display a wide range of graphics on the Web.</p>
<p class="text-intro">SVG documents are just plain text files and can be created and edited in every text editor.</p>
</div>
<div class="content-right">
<img src="traffic-lights.png">
</div>
</div>
</section>このコードで使われているcontent-leftとcontent-rightクラスは、要素を2つのカラムに分けます。また上述のクラスが機能するために、全要素をwrapクラスで囲みます。左のカラムで使っているtext-subtitleは文章を大文字にし、text-introはフォントサイズを大きくします。右のカラムには説明用の画像を貼り付けます。
スライド3
次のスライドではカラムを2つ作るためにグリッドコンポーネントを使います。
<section class="aligncenter">
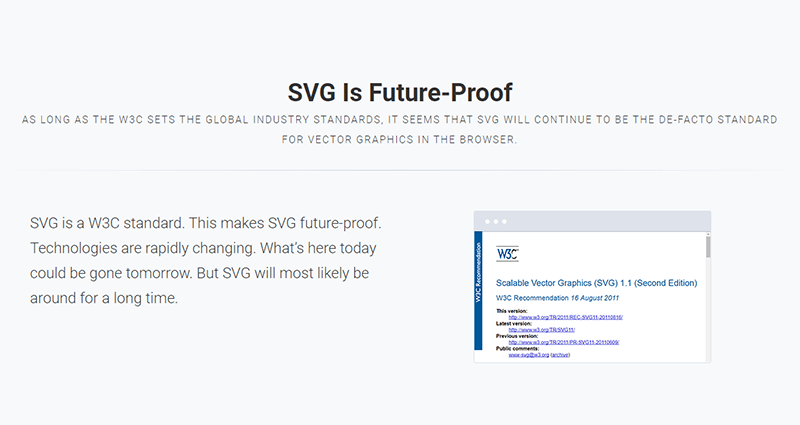
<h2>SVG Is Future-Proof</h2>
<p class="text-subtitle">As long as the W3C sets the global industry standards, it seems that SVG will continue to be the de-facto standard for vector graphics in the browser.</p>
<hr>
<div class="grid">
<div class="column">
<p class="text-intro" style="text-align: left">SVG is a W3C standard. This makes SVG future-proof. Technologies are rapidly changing. What's here today could be gone tomorrow. But SVG will most likely be around for a long time.</p>
</div>
<div class="column">
<figure class="browser">
<img src="standard.png">
</figure>
</div>
</div>
</section>スニペットが示すとおり、gridクラスとcolumnクラスを使い、2つのカラムを格子状に並べます。最初のカラムではstyleでテキストを左寄せします(<section>要素のaligncenterクラスが.columnの子要素に対してカスケードになっていて、スライド内の全テキストが中央寄せになっていることに注意)。2つ目のカラムでは、browserクラスがスクリーンショットのような説明用画像を貼り付けています。
スライド4
4枚目のスライドでも要素を2つのカラムに分けるためにグリッドコンポーネントを使います。
<section>
  <h2 class="aligncenter">SVG Is the Best Graphic Format for the Web</h2>
  <hr>
  <div class="grid">
    <div class="column">
      <p class="text-intro">What makes SVG so preferable for the Web is its remarkable usefulness and unlimited flexibility. It's the only one graphic format which most closely and completely responds to the current web development demands such as <em>scalability, responsibility, interactivity, programmability, and accessibility</em>.</p>
    </div>
    <div class="column">
      <p class="text-intro">As a graphic format SVG perfectly suits the needs of the web because it satisfies both designers and developers. An illustration can be easily created by a designer with any vector software, and then, the exported SVG can be transferred to a developer who can add animation or some other interactivity.</p>
    </div>
  </div>
</section>
スライド5
スライド5では半分の要素を左、半分を右に寄せるためにcontent-leftとcontent-rightを使います。
<section>
  <div class="wrap">
    <div class="content-left">
      <h2>SVG Usage Is Growing</h2>
      <p class="text-subtitle">Over the last year SVG usage has doubled.</p>
      <hr>
      <p>As of 2014 SVG usage is growing continuously (image below) and it has doubled over the last year (right image).</p>
      <img src="svg-usage-numbers.png">
    </div>
    <div class="content-right">
      <img src="svg-usage.png">
    </div>
  </div>
</section>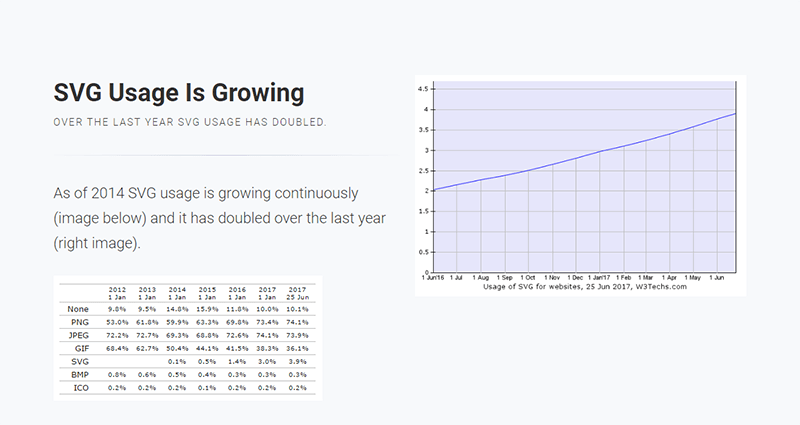
スライド6
スライド6はbackgroundクラスを使って、Unsplash serviceの画像を背景にします。bg-trans-lightクラスでタイトルを透過して背景が見えるようにします。スライドでは黒背景に白文字にしたかったので、bg-blackクラスで背景を黒にしていますが、デフォルトは白背景に黒文字です。さらに<div class="wrap">で囲んで、テキストを画像の前面にします。
<section class="aligncenter bg-black">
  <span class="background" style="background-image:url('https://source.unsplash.com/ICW6QYOcdlg/800x600')"></span>
  <div class="wrap">
    <h2 class="bg-trans-light"><em>SVG Solves the Most Important Problems in Modern Web Development</em></h2>
  </div>
</section>
スライド7
スライド7では説明文を左側、説明用画像を右側に貼り付けます。画像はalignrightクラスとsize-40クラスを<img>要素に対して使うことで、デフォルトの40%の大きさで貼り付けます。7〜10のスライドでは、WebSlidesに備わっているCSSアニメーションslideInRightクラスを使います。
<section class="slideInRight">
  <div class="wrap">
    <img src="responsive.jpg" class="alignright size-40">
    <h3>1. Scalability</h3>
    <p class="text-subtitle">SVG is like an infinitely scalable canvas</p>
    <p>Because of its vector nature an SVG drawing can scale and adapt to any size without loosing sharpness. In contrast, raster-based formats, such as GIF, JPG, and PNG, are static and have fixed dimensions. Although techniques for responsive images are good, they still can not compete with the SVG's ability to scale infinitely. No matter what device you use, SVG will adapt and scale perfectly keeping the graphic's visual appearance intact.</p>
  </div>
</section>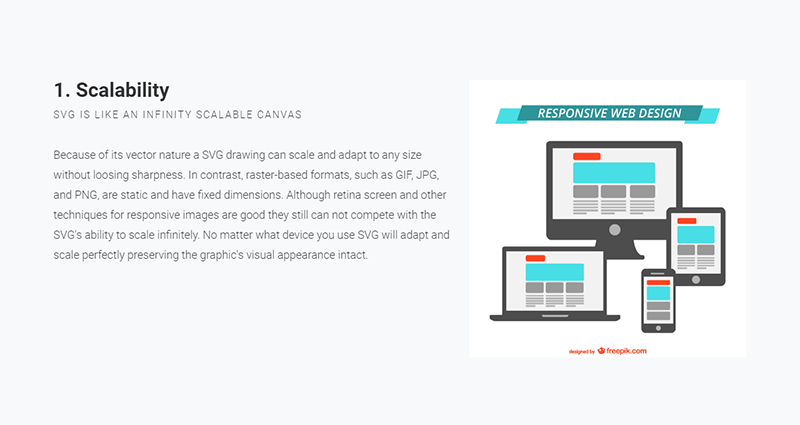
スライド8
スライド8も同様です。
<section  class="slideInRight">
  <div class="wrap">
    <img src="interactivity.jpg" class="alignright size-40">
    <h3>2. Interactivity</h3>
    <p class="text-subtitle">SVG Drawings are dynamic and interactive</p>
    <p>SVG is fully scriptable. It can be manipulated with CSS and/or JavaScript. An SVG graphic can be animated and can respond to user actions.</p>
  </div>
</section>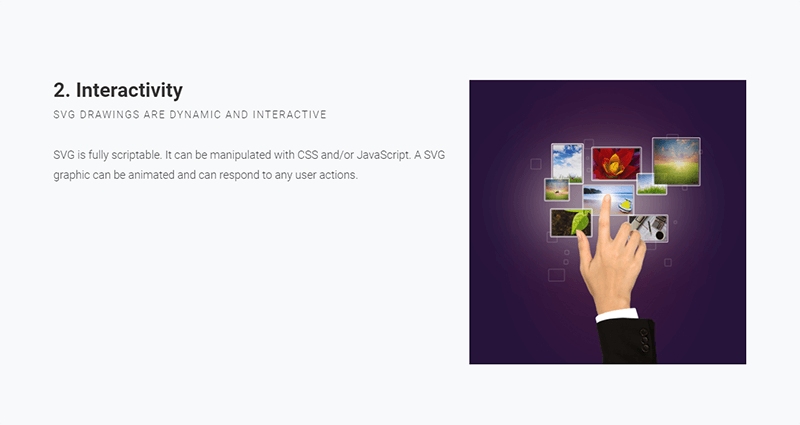
スライド9
スライド9も同じ構造です。
<section  class="slideInRight">
  <div class="wrap">
    <img src="svg-market-position.png" class="alignright size-40">
    <h3>3. Performance</h3>
    <p class="text-subtitle">SVG is the preferred image format for high traffic sites</p>
    <p>Because SVG is just plain text, in most cases the file size will be smaller compared to its bitmap counterparts (JPEG and PNG). So the impact on web page performance will be minimized.</p>
  </div>
</section>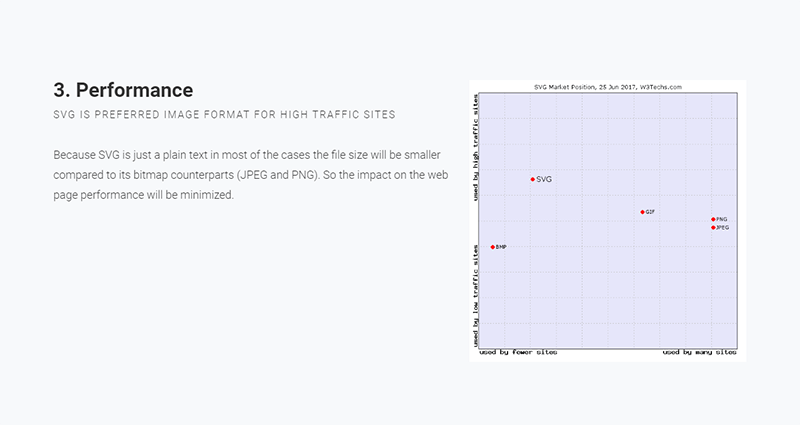
スライド10
スライド10も、内容を左右に分割します。2つ目の<p>タグで、font-sizeとline-heightを変更するためにstyle要素を指定して、デフォルトで指定されているtext-introクラスの内容を上書きします。右側は<div class="wrap size-80">を使ってSVGのコード例を表示するコンテナを作ります。
<section class="slideInRight">
<div class="wrap">
<div class="content-left">
<h3>4. Accessibility</h3>
<p class="text-subtitle">SVG text is real and editable</p>
<p style="font-size: 1.8rem; line-height: 3.2rem">SVG files are text-based and can be searched and indexed. This makes them readable by screen readers, search engines and other devices. The ability of SVG to bring visuals to those who cannot see, extends its reach into many domains that pixel-based graphics just cannot go.</p>
</div>
<div class="content-right">
<div class="wrap size-80">
<pre><svg xmlns="http://www.w3.org/2000/svg" viewBox="0 0 200 100">
<text x="10" y="20">SVG offers real and editable text</text>
</svg>
</pre>
</div>
</div>
</div>
</section>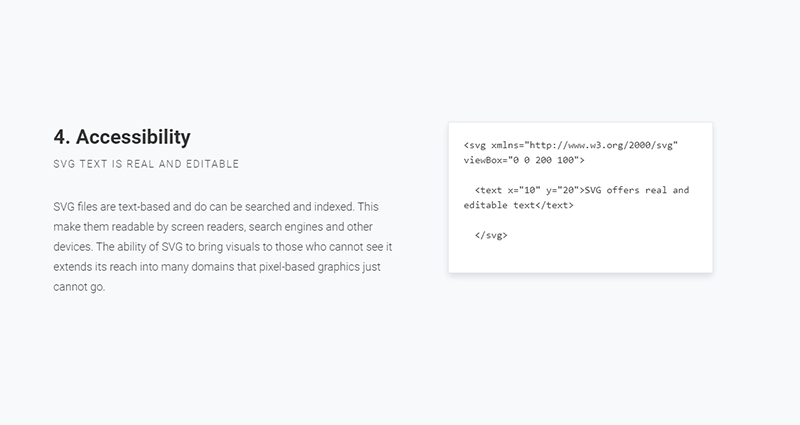
スライド11
スライド11ではSVGをサポートするブラウザーを、すでに取り上げたクラスで説明します。
<section class="aligncenter">
  <h2>SVG Has Very Good Browser Support</h2>
  <p class="text-subtitle">The browser support for SVG is 97% and above</p>
  <hr>
  <div class="wrap">
    <img src="caniuse.png">
  </div>
</section>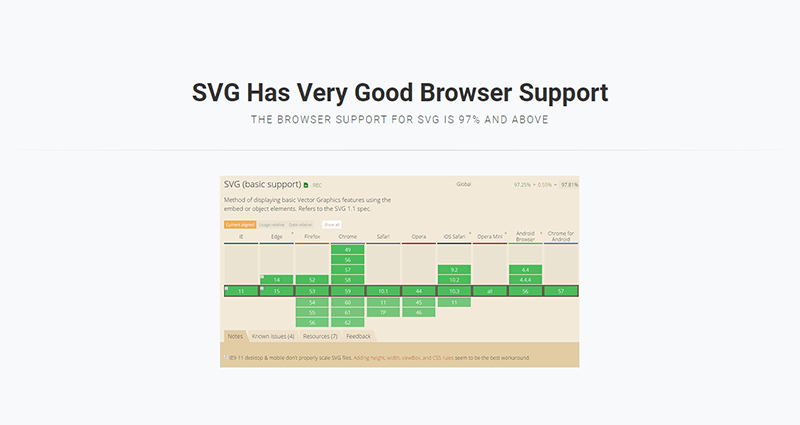
スライド12
スライド12では、SVGの使用例をイメージギャラリーで紹介します。スライド全体で、flexblockクラスとgalleryクラスを使い、リストを順不同に並べます。それぞれのギャラリーはliタグでマークアップします。
<section>
  <h2>SVG Has Many Different Use Cases</h2>
  <hr>
  <ul class="flexblock gallery">
    <li>
     <a href="#">
       <figure>
         <img alt="Thumbnail" src="illustration.jpg">
         <figcaption>
           <h2>Plain Illustrations</h2>
         </figcaption>
       </figure>
     </a>
   </li>
   <li>
     <a href="#">
       <figure>
         <img alt="Thumbnail " src="icons.jpg">
         <figcaption>
           <h2>Logos and Icons</h2>
         </figcaption>
       </figure>
     </a>
   </li>
   <li>
     ...
   </li>
   ...
 </ul>
</section>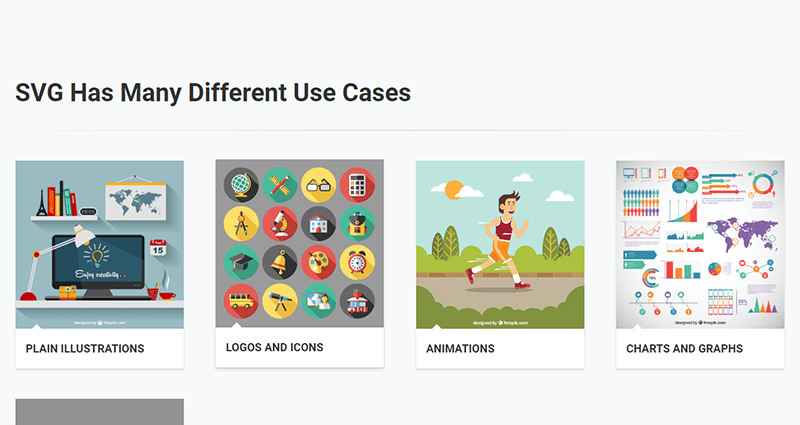
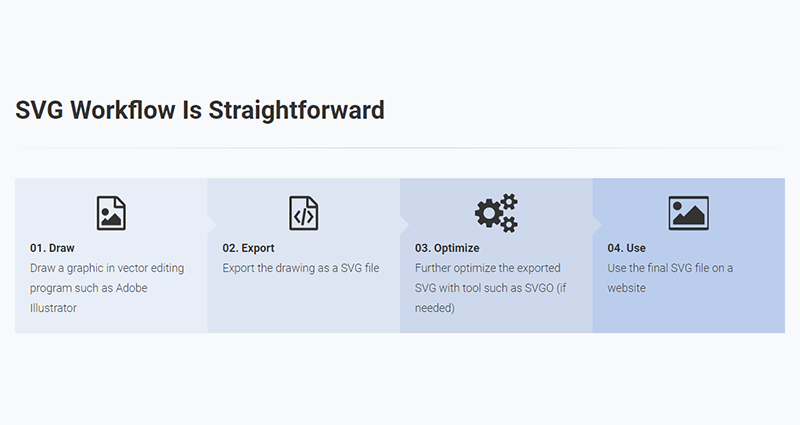
スライド13
スライド13では一般的なSVGのワークフローを紹介します。flexblockクラスとstepsクラスを使い、1つずつ手順を説明します。手順説明はliタグを使います。
<section>
  <h2>The SVG Workflow Is Straightforward</h2>
  <ul class="flexblock steps">
    <li>
      <span>
        <svg class="fa-file-image-o">
          <use xlink:href="#fa-file-image-o"></use>
        </svg>
      </span>
      <h2>01. Draw</h2>
      <p>Draw your graphic in a vector editing program such as Adobe Illustrator</p>
    </li>
    <li>
      <div class="process step-2"></div>
      <span>
        <svg class="fa-file-code-o">
          <use xlink:href="#fa-file-code-o"></use>
        </svg>
      </span>
      <h2>02. Export</h2>
      <p>Export the drawing as an SVG file</p>
    </li>
    <li>
     ...
    </li>
  </ul>
</section>2つ目以降の説明ではprocess-step-#クラスを追加することで次の手順に右矢印を表示します。
スライド14
最後のスライドではWebSlidesに備わっているCSSアニメーションzoomInを使います。
<section class="zoomIn bg-black">
  <span class="background" style="background-image:url('https://source.unsplash.com/fPkvU7RDmCo/800x600')"></span>
  <div class="wrap">
    <h2 class="aligncenter">Start Coding SVG Today!</h2>
  </div>
</section>
以上です。以下のように出力されます。
最後に
きれいで機能的、動きもスムーズなプレゼンテーションが作れたと思います。これはWebSlidesのほんの一部にすぎません。WebSlidesには短い記事では紹介しきれないほどの機能がたくさんあります。
さらに知りたい人は、WebSlides ComponentsやCSS architecture documentationを参照したり、ダウンロードしたフォルダにあるデモを試したりしてみてください。
WebSlidesを活用して、プレゼンテーションで取り上げたいコンテンツを考えることに集中しましょう。
本記事はRalph Mason、Giulio Mainardi、Mikhail Romanovが査読を担当しています。最高のコンテンツに仕上げるために尽力してくれたSitePointの査読担当者のみなさんに感謝します。
(原文:How to Create Beautiful HTML & CSS Presentations with WebSlides)
[翻訳:前田類/編集:Livit]
本記事はアフィリエイトプログラムによる収益を得ている場合があります