


iPadが手に入ったら、すぐに使用したいものです。しかし、既存の端末から設定や情報を移動させるのは、なかなか面倒。具体的にいうと、Apple IDとパスワードをいれて、認証して、Wi-Fiスポットを選択して……という一連の流れが非常にわずらわしいですね。
しかし、iOS 11から新しいアクティベート方法が追加されました。今回は、新しい設定方法で、iPhoneのWi-Fi設定や情報をiPadにカンタンに転送する方法を紹介します。
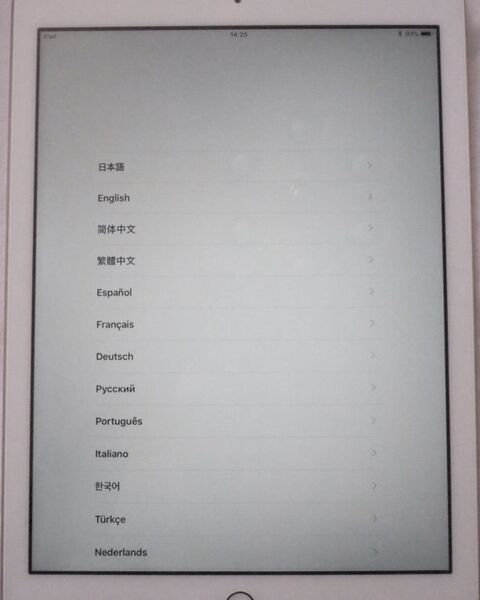
iPadを起動します。画面上に、さまざまな言語による「こんにちは」というテキストが表示されます。iPhone、iPadをいくつか買い換えてきた方ならお馴染みでしょう。まずは、「ホームボタン」を押します。

使用したい言語をタップ。
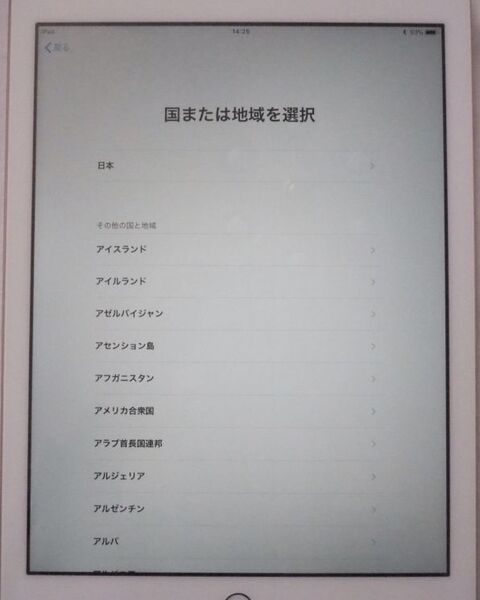
「国または地域を選択」と表示されるので、選択してタップします。
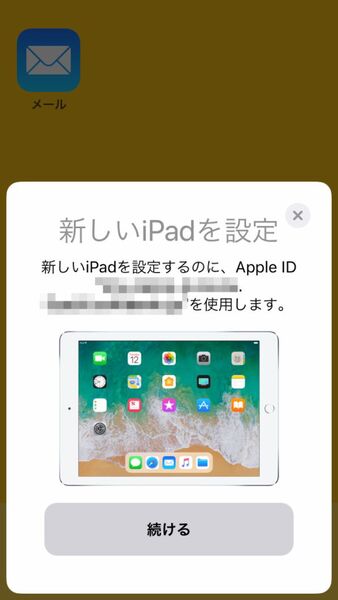
iPhoneをiPadに近づけます。iPhoneの画面に「新しいiPadを設定」と表示されます。
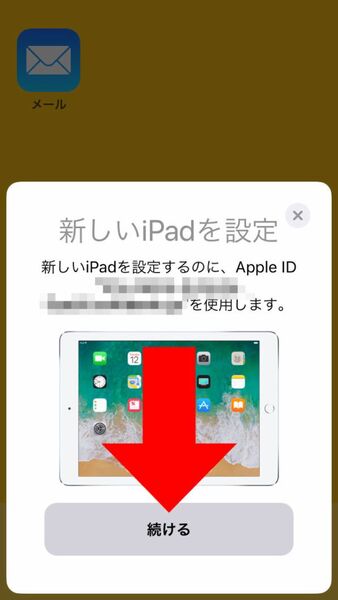
iPhoneの画面下方の「続ける」をタップ。
iPadの画面上に「iPhoneを待機中」という文字と、球体のようなアニメーションが表示されます。

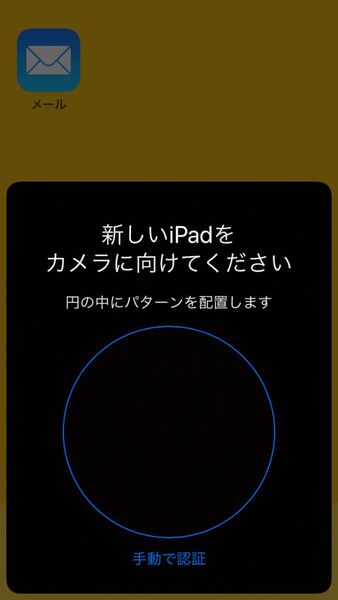
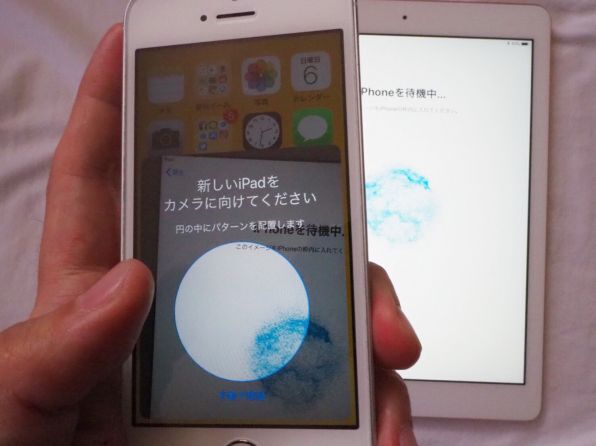
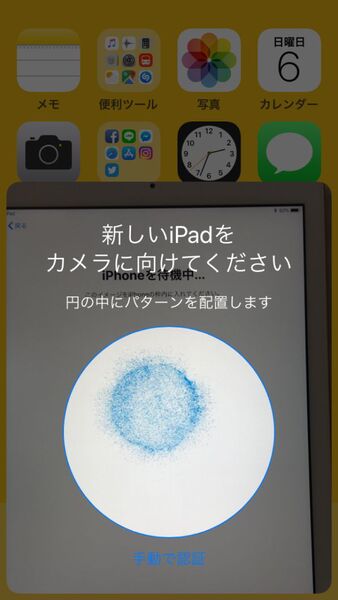
iPhoneの画面に「新しいiPadをカメラに向けてください」と表示され、カメラが起動します。
iPhone本体をiPadの画面に真上に配置します。iPhoneのカメラフレーム内に、iPad画面上のアニメーションがおさまるようにして、読み取ります。
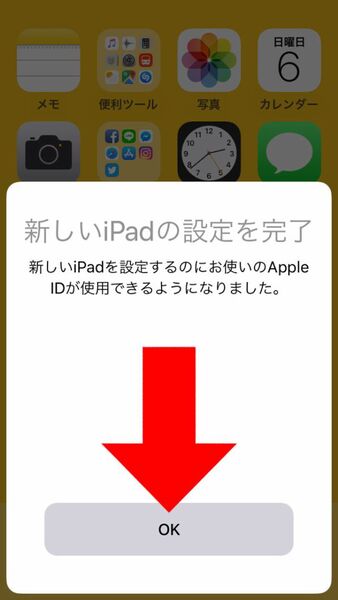
iPhoneに「新しいiPadの設定を完了」と表示されます。iPhoneの画面下方にある「OK」をタップ。
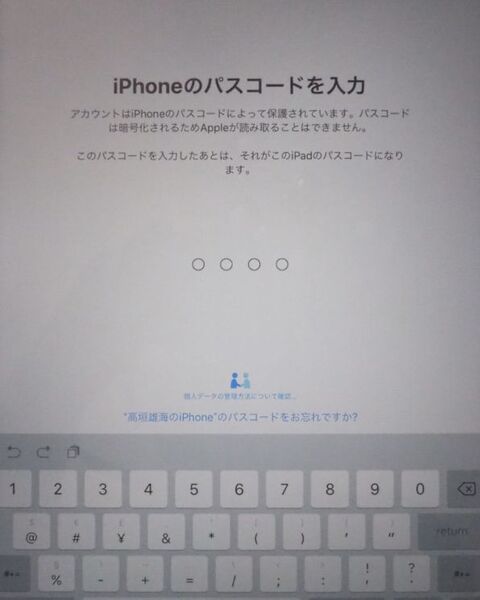
iPadの画面に「iPhoneのパスコードを入力」と表示されます。あなたがiPhoneで使用しているパスコードを、iPadに入力します。
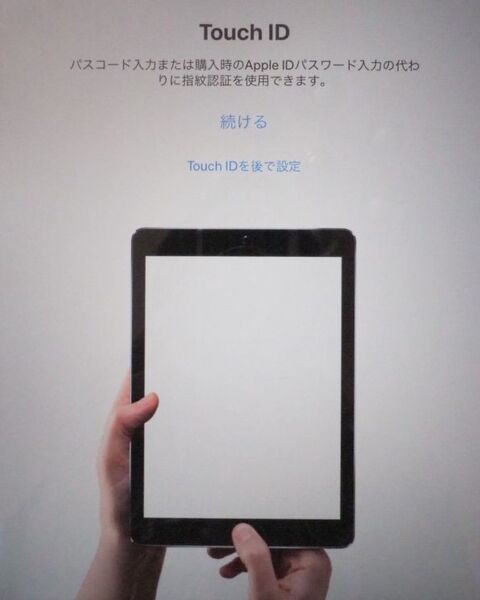
iPadの画面に「Touch ID」と表示されます。画面の指示に従い、指を押し当てるようにして、「Touch ID」を設定しましょう。
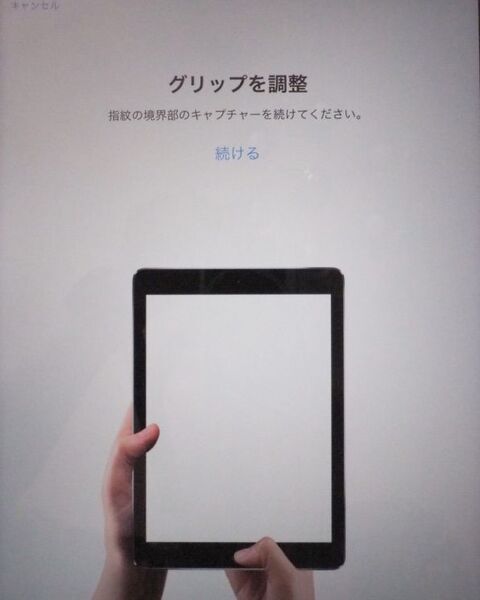
iPadの画面に「グリップを調整」と表示されます。指紋の側面をスキャンし、より正確な指紋情報を記録します。
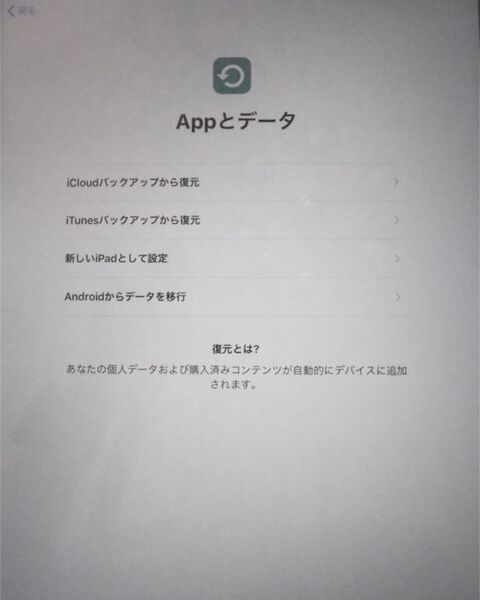
iPadの画面に「Appとデータ」と表示されます。データを転送する方法を選んでタップ。「iCloud」は普段使っているApple IDに紐づいたiCloudと同期、「iTunes」はiTunesに保存したローカルデータからの同期です。はじめてiPadを購入したなら、「新しいiPad」を選択しましょう。また、Android端末からデータを同期することも可能です。
同期には時間がかかるので、しばし待ちます。動機が完了すれば、iPadを使う事前準備はOK。新しいiPadを購入したら、新しいアクティベート方法で快適に使用をはじめてみては?
本記事はアフィリエイトプログラムによる収益を得ている場合があります


